Quick Links
Stellar Bladeis a largely linear experience, with players being funneled down corridors and smoothly progressing from boss fight to boss fight. However, there are moments where you will be given more freedom, including the ability to explore what’s become of our post-apocalyptic planet.
The game features a handful of large open environments, teeming with enemies and side quest objectives to knock out in your spare time. The second area you gain access to is called the Great Desert, featuring a suitably arid appearance. Exploring can be a fun diversion, but you’ll be incredibly vulnerable until you activate the solar tower.

How To Activate The Great Desert Solar Tower
Given that the Great Desert is a nonlinear section of the game,it has campsites to heal and save dotted around various points of the map. However, in order to actually use these,you must first fix the nearby solar tower, restoring power to the region’s safe zones.
Finding The Tower
The tower is not hard to find, beingmarked on your map as soon as you enter the Desert for the first time. you may select its marker from your map screen, andnavigate to it using the compass on your heads-up display. Reaching it will require traveling around some elevated rocky terrain, and you’ll be greeted by a raging sandstorm upon your arrival.
Fighting The Stalker
When you enter the fenced-off area surrounding the tower,you’ll be greeted by an unexpected boss fightwith Stalker, which is a bossyou’ve already encountered.
After you’ve defeated the Stalker,ascend up the tower via the stairs inside of it. You will reach a control console at the top, whereyou will be informed that power cannot be restoredto the tower at this time, sinceit must be repaired by four service robots.

Finding A Sentinel
At this point, you shouldgo to your Missions menuandstart tracking the side quest “Reboot!!!”. This will give you the location of a sentinel. Interacting with him will grant youmap markers for all the drones you need to findin order to rectify the solar tower’s operability.
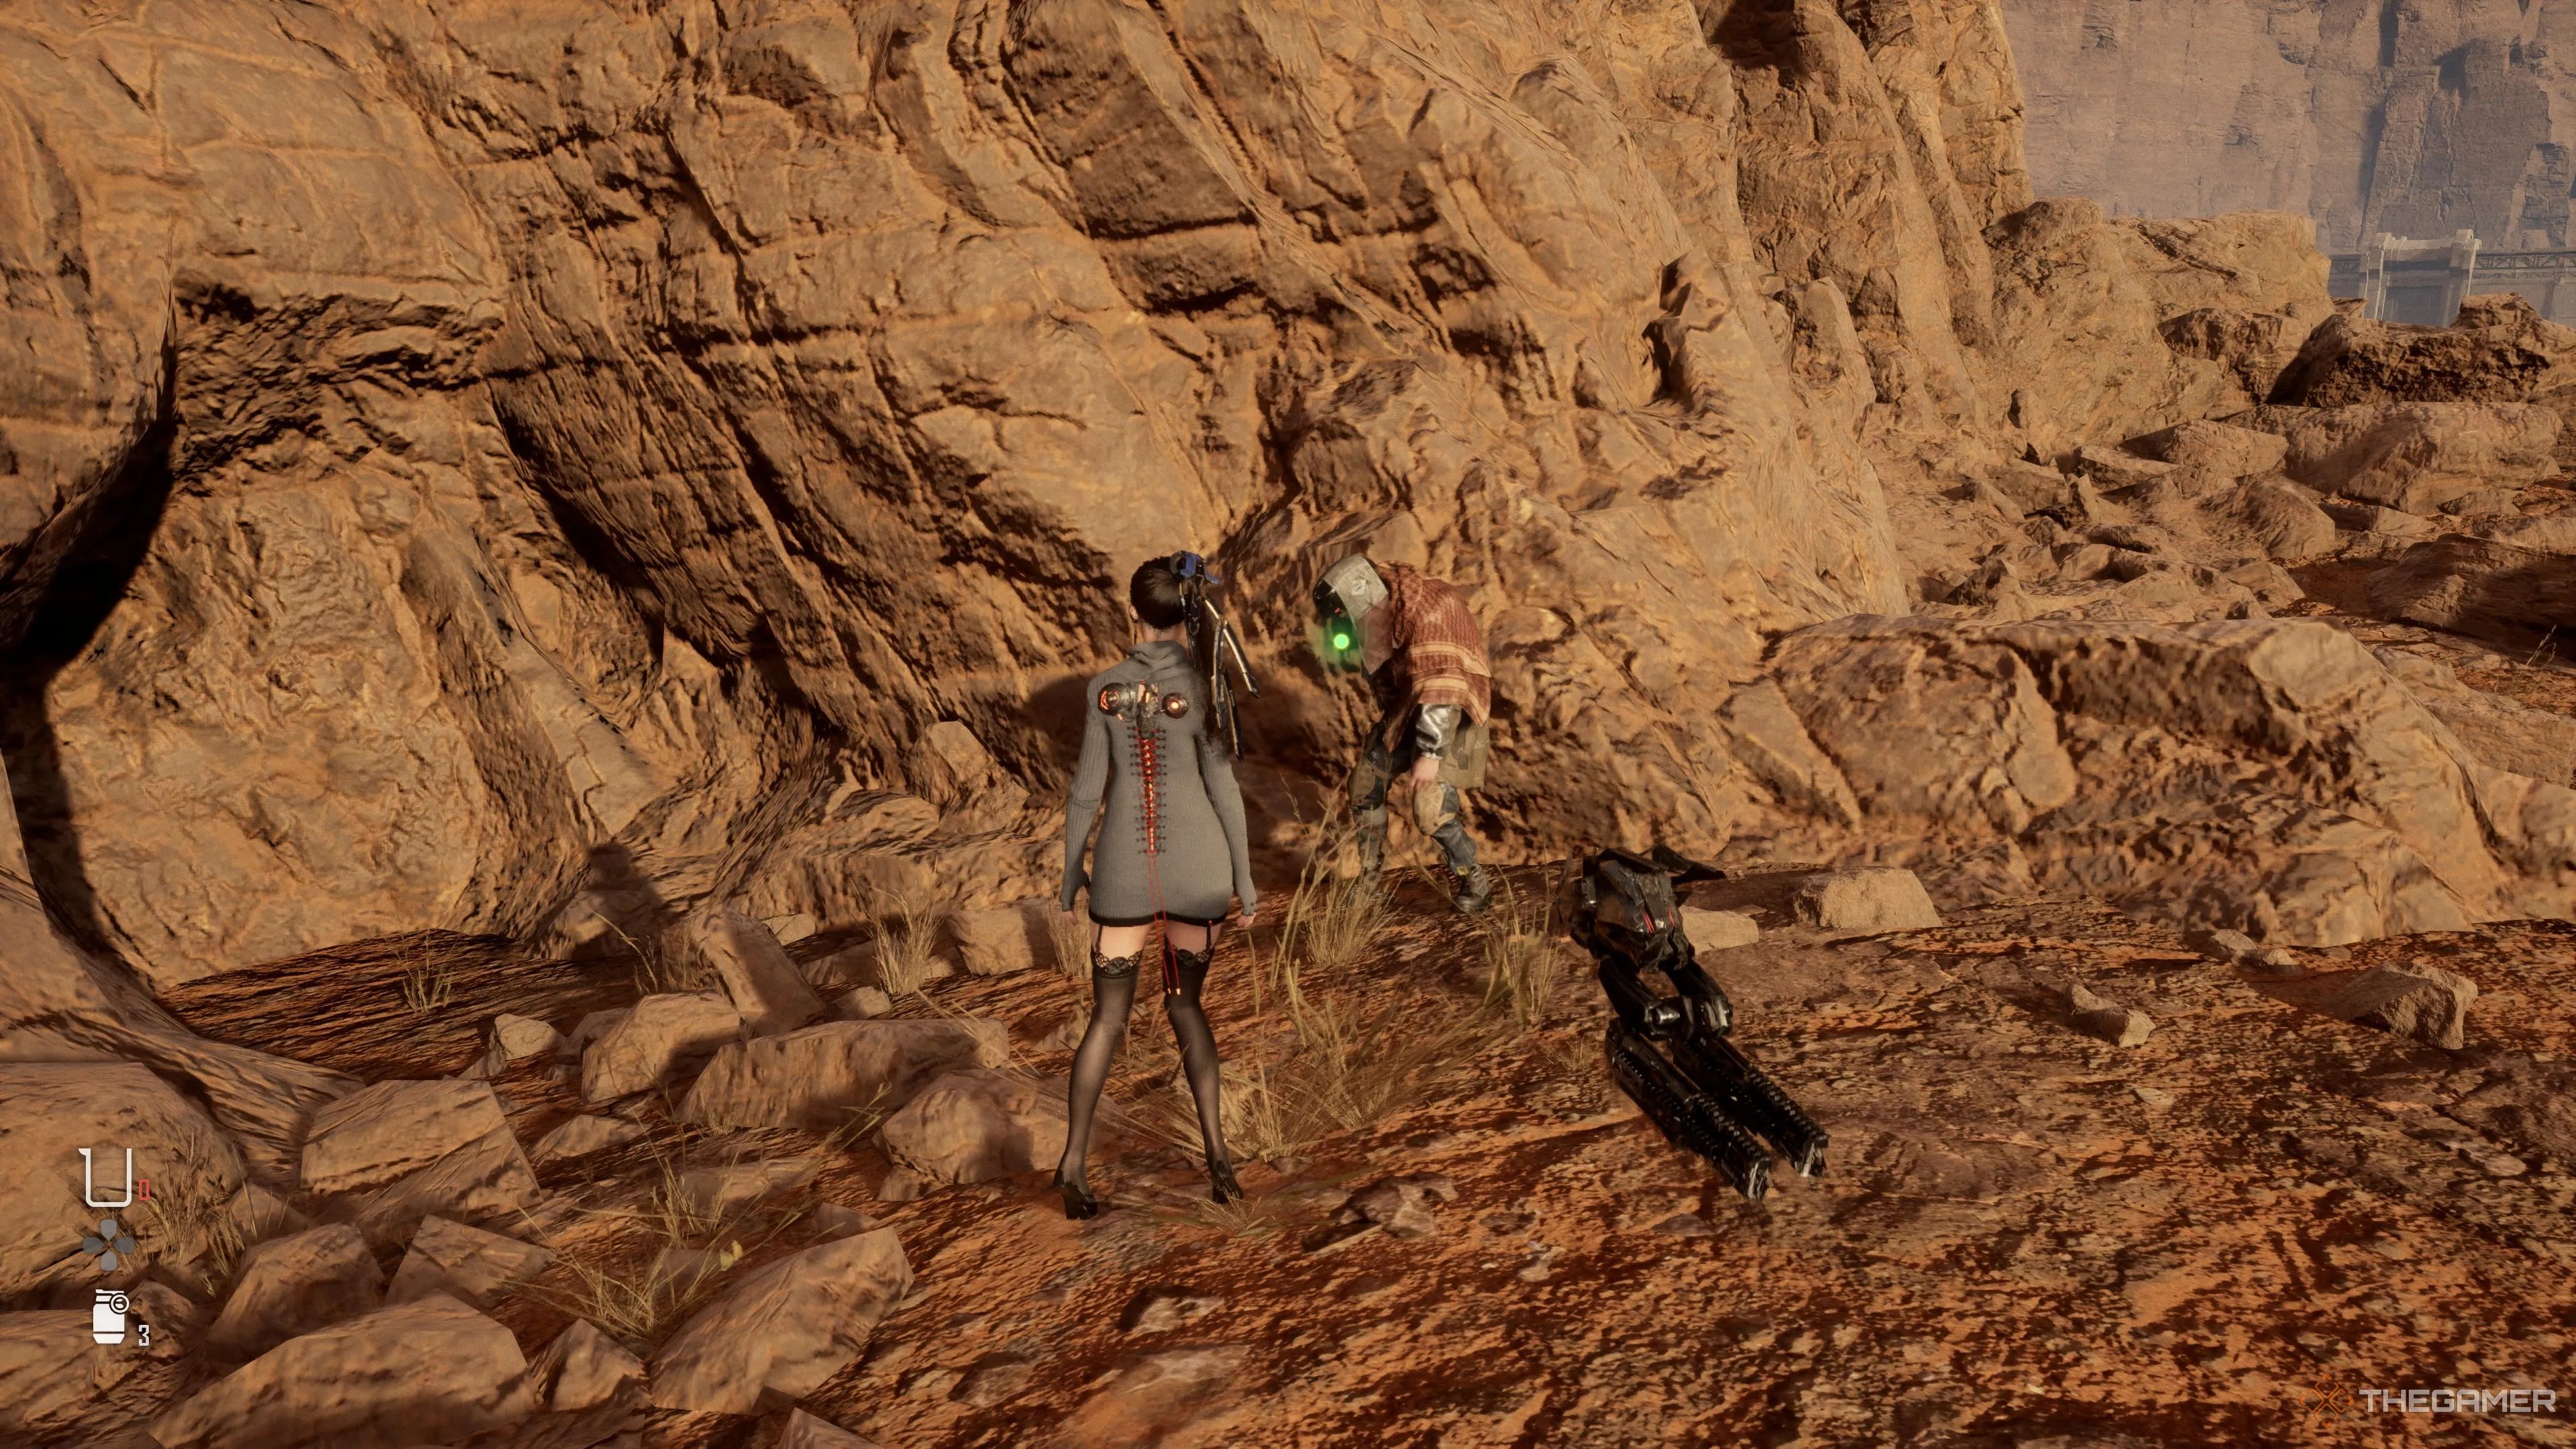
As you explore the Great Desert,be on the lookout for Lurkers.These Naytiba will burrow underneath the sand dunes,popping out and attacking you from any anglewhen you least expect it.

First Service Robot Location
The first drone can be found among the ruins of a building.You’ll need to scale a dilapidated wallusing the handholds provided, thenswing across a gap using a poleprotruding from part of the ruin. Executing this jump will land you right in front of your first target.
Second Service Robot Location
The second robot is at the end of a destroyed highway. In order to reach it,you need to walk to the end of the overpass, which conveniently dips into the ground.Double jumpon, run to the end, and you’ll find your missing drone.
Third Service Robot Location
The third service robot requires no platforming puzzles and is easily accessible. Go to the drone’s map marker, andyou will find it in an outcropping surrounded by girders and broken cement. The drone is right in the middle of this rubble.
Fourth Service Robot Location
The final robot you’ll need to find isjust east of the last one, operating on some scrap metal. After interfacing with it,you’re ready to head back to the tower.
If you reach the map marker for any of the drones and still can’t find them,don’t hesitate touse your scanner.They will be highlighted against the environment, helping you spot them.
Return To The Tower
After returning to the tower,interacting with the control console will grant power back to the region’s campsites. Congratulations, you’re able to now explore the Great Desert with an extra layer of security.

