Summary
There are plenty of bosses inEiyuden Chronicle: Hundred Heroesthat you’ll face as you fight against the Empire. Most, with proper planning, are easy to manage, and you can beat down within a few turns. However! This is a feint. Don’t trust it. Eiyuden Chronicle is banking on you getting overconfident, so you can let your guard down.
Some will say that all beginning boss fights are hard because you’re under-leveled, others will say that the latter half of bosses are tougher due to the spike in difficulty midway through. All the bosses down are guaranteed to give you a hard time one way or the other, so which is the hardest in the game?

9Nerthus
Location - Redthroat Ridge
Prepare to get a heaping of love and justice! Magical girl Mellore is on a mission to save the town from the great evil in the Redthroat Ridge desert… if she could only find it on her own. Nowa follows her, knowing she is about to get in trouble somehow, and you’re proven right when you run into this giant supermole monster out for blood.
Nerthus isn’t hard in the sense that you’ll be near death if you miss even one move. As long as you have potions, you’ll be fine, but trying to nail the monster on the head with Mellore’s magic grimoire hammers proves to be a frustrating event that will drag out the fight much longer than it should at half the damage you could be doing.

8Seign
Location - Elitisweiss Bridge
Seign called it the last time you met up: you may bemeeting as enemies on the battlefield the next time you meet. You just didn’t think it was going to be this soon after creating your friendship combo. The duel boss fight consists of a rock-paper-scissors type of combat where you choose to attack or counter depending on your enemy.
The clash between two friends is intense, and with each hit you take damage. Yes, even when you are defending yourself from Seign’s onslaught, you’re still taking damage, which could end the fight much sooner than anticipated. verify you keep your reflexes in check for this fight.

7Yuthus, Kogen, And Zabi
Location - Abandoned Castle
If everyone listened to Garr, then this whole fight could have been avoided. You wouldn’t have to worry about things like dying or watching Zabi cancel out any damage you would have made if Yuthus wasn’t blocking most of it. You certainly wouldn’t have to worry about Kogen punching you in the face or hurling literal cannonballs at your entire front line. Yet, here we are.
While it may be tough, it’s not enough to take your party out, but once they bring in the big, bolder-tossing guns, things can get dicey quickly. You’ll be fighting more over the controls of the big damage than each other once you realize that you can turn the boulders back onto them. Just be quick, or you’ll be the ones undertow.

6Ancient Seed
Location - Greatwood Maze
The seed was watching you as your party climbed toward Treefold Village. It waited as you got swallowed and spat out all over the trunk. A meal of six morsels delivered itself right to its acidic mouth. Just when you think you’re clear, it drops in front of you, ready to attack.
This ancient seed isn’t going to let you go easily, either. Every hit that you connect with, it counters by throwing up acid onto the person who attacked. It doesn’t rely on whose turn it is, either, making it hard to keep up with heals in between turns. It’s better to leave this one to your tankier heavy hitters. Mages can do high damage, but they suffer from being glass cannons here.

5Hurstwine And Narungarde
Location - Inner Proving Grounds
The cartoonishly evil duo couldn’t have the worst timing! Just how did they get through the previous fight and still have more time and MP to put up as good of a fight as they do here? Narungarde relentlessly attacks single targets with both long-range magic and casting earth spells, while Hurstwine will put one to two characters asleep per turn.
If your party were at full strength, this would have been an easy wash of a fight, but because you’re coming directly off the back of another, tougher fight, then you’ve got your work cut out for you.

4Boss Rush
Location - Escaping The Rune Research Lab, Outside Ardinale
Seign just can’t seem to catch a break. He crossed swords with Dux Aldric and barely escaped with his life. Now, he has to face FOUR bosses immediately after? Astonishingly, he’s still standing tall. The Dux is sending powerful beasts to take you down:
This game loves to take advantage of placing boss battles one after another to catch you off guard and give some serious challenges to get over, but once you find your groove and defend when you can, these four bosses shouldn’t be too difficult.

Location - Castle Harganthia
The Dead Countess is being held on the plane of the living against her will, and by her ‘lover’ putting her directly in front of your path, it is all but guaranteed that you’ll be freeing her with your bare hands. That doesn’t mean she’s going to make it easy for you.
You’ll have to contend with her powerful Dark magic that can hit multiple party members multiple times. Not to mention the absolute nuclear attack that her demonic chair powers up for her. Her attacks are brutal and some of them can heal her as well. A truly large obstacle stands in your way.
2Narungarde
Location - Gardhaven Castle
Up until now, you’ve always got a sense that the mysterious Narungarde was keeping her cards close to her chest in both motive and ability. The final confrontation proves this by having her show you what she’s capable of. Narungarde has full control of dark magic, as you already know.
Narungarde will come at you with both Dark and Earth magic, the latter she can cast twice in a row on her turn. If you properly prepare for when she reigns Nebula Ray down on you, then you could squeak by and survive, but be prepared to defend, defend, defend.
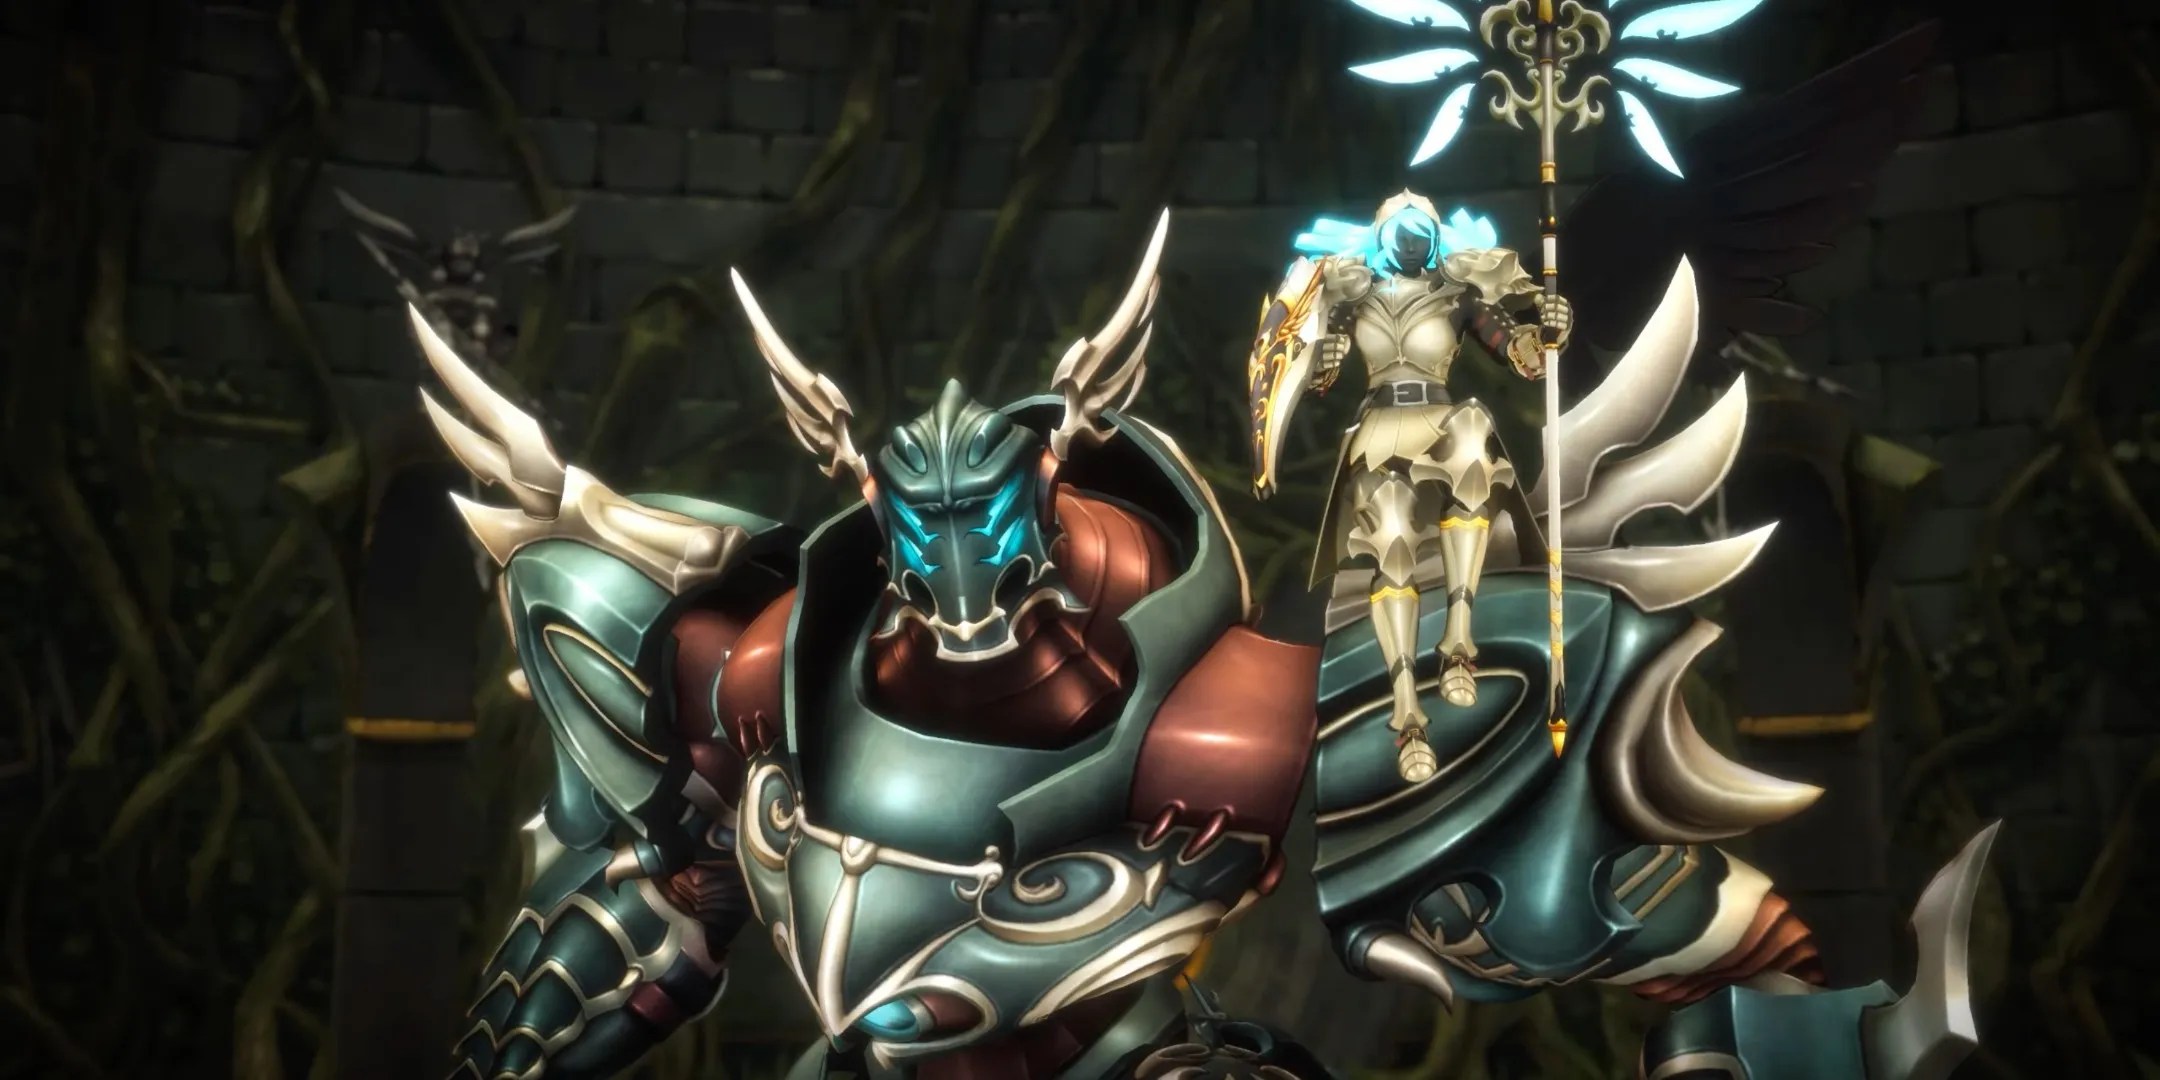
1Astraea The Judge, Slaosha The Enforcer
Affectionately named The Proving Grounds after the dungeon, this boss is the first one to truly test your mettle in battle. You will have to battle both the mechanized knight who is charged with protecting his charge resting on his shoulder. Though they both hit hard, the enforcer will waste some turns to heal his charge if need be.
The real fight begins when you kill the knight and Astraea is down to around halfway. Her hair turns pink, and she begins to command the angel-type beings behind her that will hit you with a powerful combo attack — the Smite of Punishment, which can hit for over 100 points per person.If you aren’t prepared, you are going to fail several times. Good luck.
