Summary
Persona 3 Reloadhas added a lot of things that would both make fans happy and piss them off in equal measure, something about not being able to make everyone happy would fit well here. But, one of the best things they added to Tartarus was the Monad Floors and Monad Passages.
You are no longer hidden behind fighting the infamous Reaper roaming around the halls! Instead, the floor has been broken up into several hallways that hide some powerful, yet optional, bosses. If you’re into fighting as much as possible, you’ll enjoy the bosses listed below, as they provide a decent challenge.

10Cowardly Maya
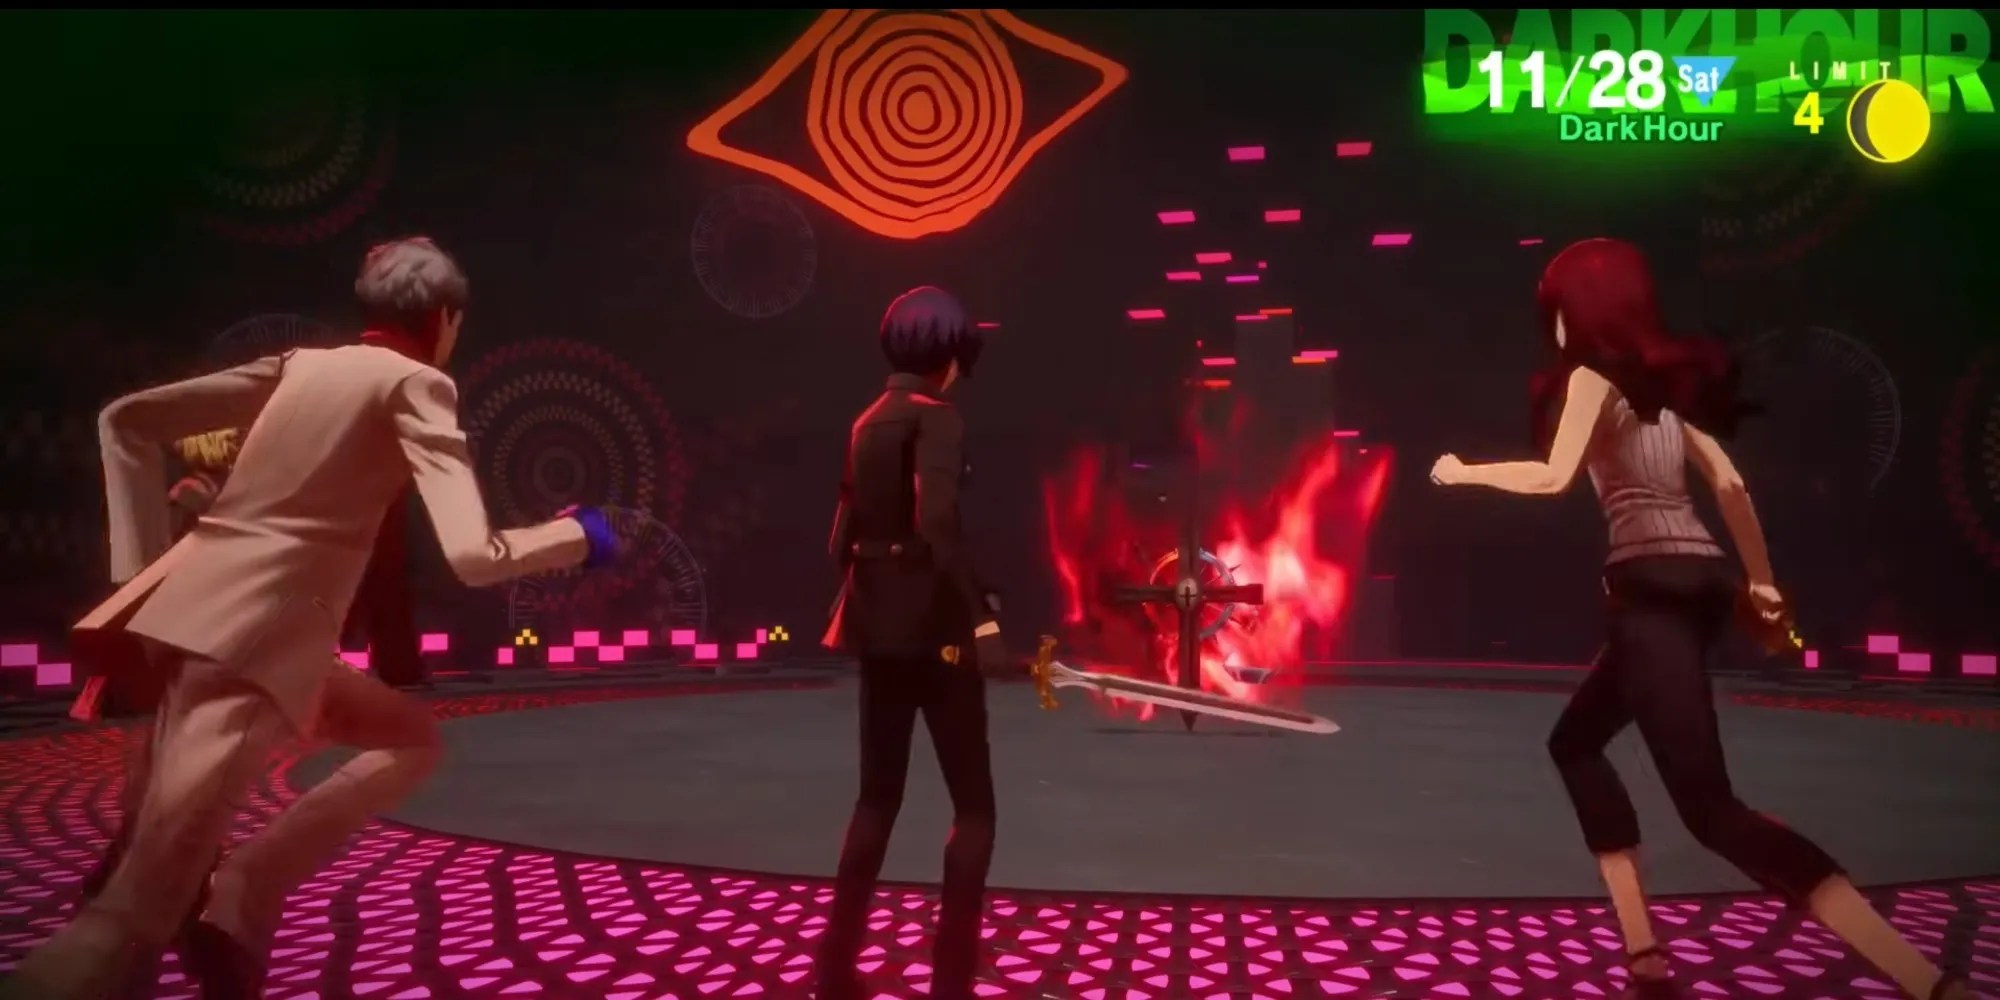
The fun thing about Tartarusis, that no matter how used to the routine you think you are, there’s always something waiting in the wings to spring itself on you. Take your first Monad fight, you know something’s different by the red distortion of the usual creepy surroundings of the mysterious tower.
What’s waiting for you at the end? Just a lowly shadow…at least, that’s what it looks like, nothing you haven’t beaten before after all. However, when you scan it, you find there are no weaknesses for you to exploit while hitting twice as hard as its normal counterpart, so strike it down hard and fast with no mercy, and you should come out victorious.

9Platinum Dice
Are you ready to try your luck and roll the dice? Platinum Dice has inherited all the moves and passives of the previous two (bronze and iron) dice, and none of the weaknesses. The minions it comes with do of course, so they’re easy to deal with if you bring Yukari and Koromaru.
The pair of dice is strong, but all you have to do is flex your muscles, hit hard, and cast your debuffs on them as much as possible, and you’ll be rolling a Natural 20 and have them handily defeated in no time.

8Magical Magus
It’s already bad enough to have to deal with a pair of hands who don’t know how to not keep to themselves, but to attack while being resistant to all the magic you have in your arsenal is downright rude! Not only that, it brings two friends who are also largely resistant to your whole arsenal as well.
All three are going to give you a hard time due to their various resistances, but Akihiko and Aigis will make quick work of them with their physical attacks alone. Or better yet, a well-timed Theurgy would likely land an instakill blow.

7Minotaur 2
He’s big, beefy, and ready to turn you into dust! The Minotaur (Mark 2, mind you) has a lot of rage hidden inside those horns, and he is more than willing to turn that rage outward and attack your whole party at the same time, egging you to attack. A double edge sword, because he repels all physical attacks back to you.
As long as you keep a cool head andutilize the Me Patra skillor items, you can have the upper hand and fully put his rage to rest. Minotaur 2 is a prime example of Rage being the catalyst that can bring you down if you let it.
6Omnipotent Balance
Are you ready to tip the scales in your favor? Well, you have your work cut out for you once you face not one but four monster scales, each with its elemental strengths to watch out for. Their leader, aptly named the Omnipotent Balance, rounds them all out by not being weak to elemental magic at all.
You’ll have to be careful not to waste your SP trying to keep the Heat, Light, and Sky elementals at bay. Instead, take care of them quickly by ganging up on them after hitting their respective element weakness, leaving the Omnipotent Balance to your whims when you’re ready.

5Devious Maya
You won’t be deceived by looks this go around! Just like the Cowardly Maya, the Devious Maya tries to lure you in with a false sense of weakness by taking the form of a weaker Shadow, doubly so since she comes in a full party of copies while being protected by the Amorous Snake, who isn’t the real threat.
These blobs are resistant to most things, but if you have a persona that has Almighty at the ready, then this won’t be a problem for your party, so long as you are at a high enough level and won’t be one-shotted on the first turn.

4Hand Army
If one giant creepy hand wasn’t enough for you, how about five?These pesky gloves that have been hoarding away some good loothave come back with a vengeance for all the times you caught them slipping and attacked them from behind on the lower floors. Their party consists of the titular Gold Hand, along with the Black Hand, Pink Hand, Silver Hand, and the White Hand.
While the Gold Hand doesn’t have any weaknesses, each of the subordinate hands does:

An elementally well-rounded team, such as Akihiko, Mitsuru, and Yukari will due nicely in taking out the small hands while the main character’s persona completes the circle of pain for these knitted menaces.
3Musha Squad
As you’re heading to the final floors of the tower, your power and tactics will be put to the test in several battles inside this final Monad Passage. These four samurai-type shadows are pretty tough and will not be able to be damaged by a simple flick of your sword; all four will reflect any slash moves you try, but each has its quirks and weaknesses:
Evasion is your best friend in this fight, as when they do catch you slipping, they will take huge chunks of damage and whittle you down to zero if you are careless and rush through attacks. Steel your soul and be patient, for as rough as this fight can be, there is another that is much worse.

2Shadow Of The Void
As with most of the other entries on this list, Shadow of the Void continues the running theme of having as few weaknesses as possible. What fun would it be if you just juggled the enemy around then the battle ended without much fanfare? No, an enemy without weaknesses makes for a more fun fight that feels earned.
Shadow of the Void has a nasty habit of healing himself for 300 points every turn, so you’ll have to figure out the quickest way of taking him out, otherwise, it’s going to go from an overpowering battle to one of attrition if you aren’t careful.

1Elizabeth
Alright alright, technically, she isn’t a part of the Monad doors or Passages, but since this fight takes place on the highest level of the Monad passages, this one is going to count. Elizabeth is the ultimate test of your battle prowess and the tactics you have learned throughout your journey to the top.
Elizabeth isn’t playing around either; she’s coming in with a countdown that you’ll have to contend with, as well as several rules you’ll have to follow to even have a chance at defeating her. Defy her rules, like casting Armageddon or Tetrakarn, and she’ll quickly end the fight with your defeat guaranteed.
